Thursday, June 26, 2014

Vellum Love with Gold Thread

Simple cards are my absolute favorite. I'm always looking for ways to add a little pizazz without going overboard. My local craft store was having a sale on thread, so I splurged and bought some metallic thread. (holy cow is it expensive at regular price!) So I decided to let the metallic thread spark some interest in an otherwise relatively flat card. It works to keep the vellum in place, and also brings your attention to the word love (as it runs right through the middle).

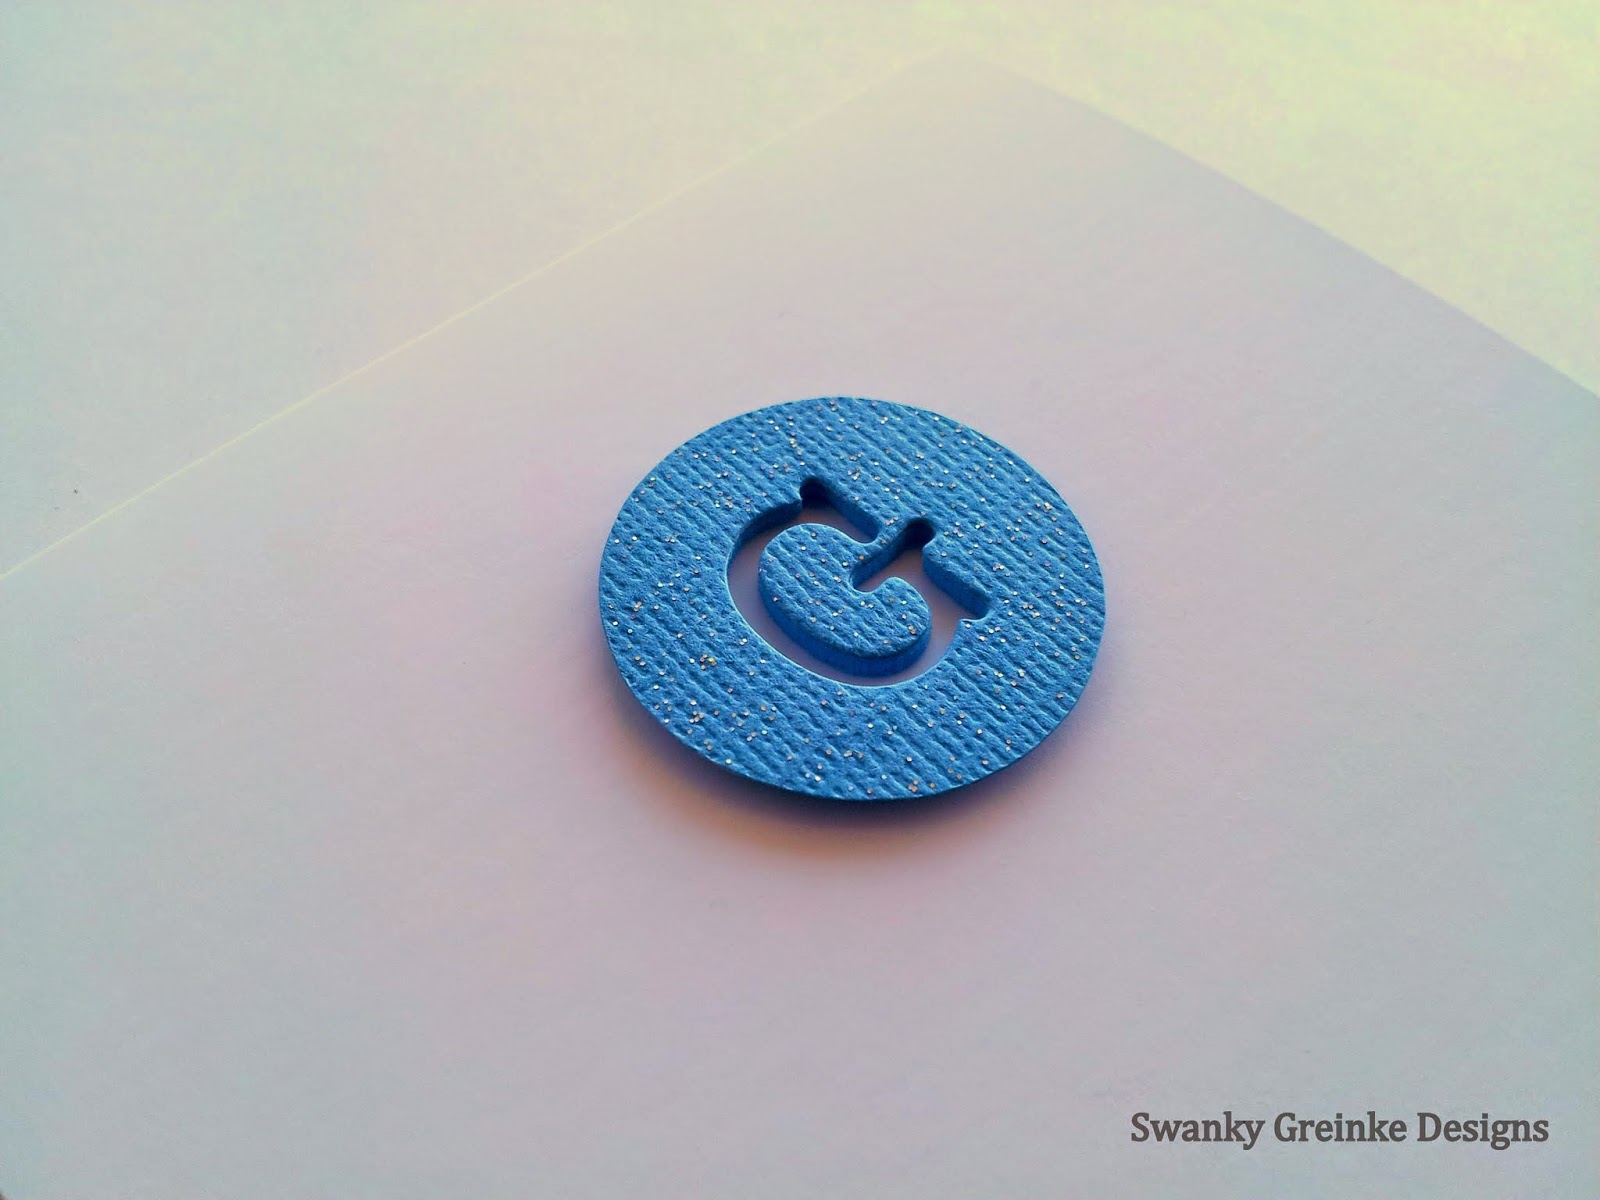
The glitter square was created with double-sded adhesive and white glitter. (I always cut out a template square and temporarily adhere it to my card front so that my lines are straight.)


Materials: Kraft cardstock, white glitter, 0.25" wide double-sided adhesive, vellum, Hero Arts Uppercase Alphabet die, gold thread, Fiskars corner edger.
Size: Standard A2 4.25" x 5.5"

Thanks for stopping by!
Jessica

Disclosures:
I use the craft products that I like to use. I am not paid by anyone or any entity for marketing of the various products that I may mention on this blog.

If you like what you see, I invite you to follow my blog or visit me on my pinterest or Etsy sites! Just see the right-hand side of the screen!


Wednesday, June 25, 2014

Simple DIY Painted Monogram

This is a fast, easy, and inexpensive way to create your own unique stationery. The great part is that you can use whatever color cardstock or paint that you want. You could even add some shimmer or glitter to the paint for a little extra something!

To start out, I cut my cardstock to 4.25" x 11" then scored it and folded it. After that, I simply marked lightly with pencil the spot where I wanted my letters to go. Then I took some white acrylic paint that I watered down (about 50/50 water-paint ratio). I used a big bulky paint brush because I like the imperfect look. Then I outlined the edges with the same paint mixture. Easy peasy! And, you can betcha that no one else will have another just like it!


Materials: Black cardstock, white acrylic paint
Size: Standard A2 4.25" x 5.5"

Thanks for stopping by!
Jessica

Disclosures:
I use the craft products that I like to use. I am not paid by anyone or any entity for marketing of the various products that I may mention on this blog.

If you like what you see, I invite you to follow my blog or visit me on my pinterest or Etsy sites! Just see the right-hand side of the screen!

Monday, June 16, 2014

Watercolor Embossed Flowers

Watercoloring is so hot right now. Spoken in creepy Will Ferrel voice. Oh, and did I mention that it's also really fun? The best part is that there is not "wrong" way to do things. First I embossed two different sized flowers from the stamp set (I had to mask the smaller flower to get the image that you see.) Then, I took several colors of distress ink, rubbed the pad right on an acrylic block, took some metallic rub and smeared that on the block, added some water and went to work. 

What I learned during this project is that you really do need to use watercolor paper. It's hard to tell in the photos, but the paper is majorly warped. When I adhered the front panel to my card base, I actually made it wrinkle around the edges because it tried too hard (unsuccessfully) to make it flat. I ended up having to stitch around the edges to get it to not look TERRIBLE. The stitching helped, but it still isn't nice and crisp. So next time, I'll try watercolor paper and see if that helps.


Close-up of the shimmer in the metallic rub.

Materials: White cardstock, Hero Arts Blossom Art stamp set, Versmark ink, black embossing powder, distress ink in fired brick, spiced marmalade, and mustard seed, Viva gold metallic rub. Sewing machine.
Size: Standard A2 4.25" x 5.5"

Thanks for stopping by!
Jessica

Disclosures:
I use the craft products that I like to use. I am not paid by anyone or any entity for marketing of the various products that I may mention on this blog.

If you like what you see, I invite you to follow my blog or visit me on my pinterest or Etsy sites! Just see the right-hand side of the screen!

Saturday, June 14, 2014

Glitter Frame with Heart

Here is a card that I created for this months simplicity challenge; found here. The frame is created with gold glitter and double sided adhesive. The white border and heart were painted on with watered down white acrylic paint.


Materials: Kraft cardstock, gold glitter, 0.25" wide double-sided adhesive, white acrylic paint, black marker, Fiskars corner edger.
Size: Standard A2 4.25" x 5.5"

Thanks for stopping by!
Jessica

Disclosures:
I use the craft products that I like to use. I am not paid by anyone or any entity for marketing of the various products that I may mention on this blog.

If you like what you see, I invite you to follow my blog or visit me on my pinterest or Etsy sites! Just see the right-hand side of the screen!

Friday, June 13, 2014

Hello Plaid Tag

Awhile back, I showed several cards using a strip of flowers cut from a sheet of patterned paper - (to see previous post, click here). I had some leftover pieces of flower (and since they were so lovingly cut, I decided not to trash them). I colored them a darker pink to match the plaid and added a handwritten sentiment. 


Materials: White cardstock, patterned paper, sharpie, organza ribbon, embroidery floss
Size: Approx 2" x 3.5"

Thanks for stopping by!
Jessica

Disclosures:
I use the craft products that I like to use. I am not paid by anyone or any entity for marketing of the various products that I may mention on this blog.

If you like what you see, I invite you to follow my blog or visit me on my pinterest or Etsy sites! Just see the right-hand side of the screen!

Thursday, June 12, 2014

Cut-out Star Tag

Here is another great way to use scraps! A star design is cut from the tag for added interest, and some dainty white rick rack to attach to a gift.


Materials: White cardstock, colored cardstock, small white rick-rack
Size: Approx. 2" x 3.5"

Thanks for stopping by!
Jessica

Disclosures:
I use the craft products that I like to use. I am not paid by anyone or any entity for marketing of the various products that I may mention on this blog.

If you like what you see, I invite you to follow my blog or visit me on my pinterest or Etsy sites! Just see the right-hand side of the screen!

Wednesday, June 11, 2014

Simple Embossed Celebrate

Sometimes you need some simple muted colors and patterns so that you can put some readable text over the top. Vellum is great for this purpose. If you love a patterned paper, but it's too busy to read over the top of it, try putting on a vellum overlay. I used an embossed sentiment on the vellum and then stitched to a couple of strips to brightly colored paper. If you adhere vellum with glue or double sided tape, you'll have to hide it because vellum is transperent and you will be able to see where you placed the adhesive. To get around this, I stitched to vellum overlay into place.


Materials: White cardstock, vellum, thread, TPC Studio - Cupcake cling stamp set, Versamark ink, white embossing powder
Size: Standard A2 4.25" x 5.5"

Thanks for stopping by!
Jessica

Disclosures:
I use the craft products that I like to use. I am not paid by anyone or any entity for marketing of the various products that I may mention on this blog.

If you like what you see, I invite you to follow my blog or visit me on my pinterest or Etsy sites! Just see the right-hand side of the screen!


Saturday, June 7, 2014

Owl Miniature Cards

Sometimes, you just need a little card to tuck into a gift or flowers. That is exacltly why I created these  miniature cards. The owl image is so versatile: it can be used for adults, kids, and lots of occasions. I just love stamps that have lots of uses! The owls were created by stamping in light ink and then coloring with colored pencils.

On the pink card, I would like to point out that I used cheap embossing ink. You can tell because the image is not very crisp or clean. This can be a nice effect when you're not looking for neatness. I usually only use versamark ink for emobossing now, though. It nearly always gives a nice image.


Materials: Stamps - TPC Studio whimsical Birds, American Crafts thanks (border and oval frame), Inks - Memento New sprout and Angel Pink, embossing ink (cheapy brand), white embossing powder, embroidery floss.
Size: Approx 3x2"

Thanks for stopping by!
Jessica

Disclosures:
I use the craft products that work well for me. I am not paid by anyone or any entity for the use of the various products that I may mention on this blog.

If you like what you see, I invite you to follow my blog or visit me on my pinterest or Etsy sites! Just see the right-hand side of the screen!

Friday, June 6, 2014

Happy Happy Birthday Card

On this card, I used a direct-to-paper technique with dark pink ink and white ink on hot pink paper with some die cut alphas. The "birthday" is hand-written in black gel pen. 


Materials: Hero Arts Uppercase, white cardstock, pink and white pigment ink pads, black gel pen
Size: Standard A2 card 4 1/4" x 5 1/2"

Thanks for stopping by!
Jessica

Disclosures:
I use the craft products that I like to use. I am not paid by anyone or any entity for marketing of the various products that I may mention on this blog.

If you like what you see, I invite you to follow my blog or visit me on my pinterest or Etsy sites! Just see the right-hand side of the screen!

Thursday, June 5, 2014

Die Cut Monogram

Here are some simple cards using both of the alphabet dies that I own and some specialty cardstock.


Materials: MFT by the letters, Hero Arts Uppercase, white cardstock, foam dimensional, specialty cardstock
Size: Standard A2 card 4 1/4" x 5 1/2"

Thanks for stopping by!
Jessica

Disclosures:
I use the craft products that I like to use. I am not paid by anyone or any entity for marketing of the various products that I may mention on this blog.

If you like what you see, I invite you to follow my blog or visit me on my pinterest or Etsy sites! Just see the right-hand side of the screen!

Wednesday, June 4, 2014

Embossed Thank You

Here is another way that you can get the most of your die cuts. Cut out several of the same design and then glue them all together. For my project, I used 5 layers of 110 lb. Georgia Pacific cardstock. Looking back, I may have gotten better results if I had only used like 3 layers. After the 5 layers, the impression wasn't very crisp. So, I used an empty ball point pen to better outline the letters, turns that I was unable to make things really crisp and clean (I've never tried "hand-embossing" before so I'm not sure if it was just me, or it's just not feasible to make it look nice and neat) Either way, even though the effect is not what I was going for, I like it. It reminds me of greenware or a rough clay model.


Materials: MFT by the letters, white cardstock
Size: Standard A2 card 4 1/4" x 5 1/2"

Thanks for stopping by!
Jessica

Disclosures:
I use the craft products that I like to use. I am not paid by anyone or any entity for marketing of the various products that I may mention on this blog.


Tuesday, June 3, 2014

Rippled Ribbon Card

Here is a simple, but trendy card using ribbon that has been machine stitched to a card base. Can be left blank or customized to fit that perfect occasion. Either way, this is a card that will make a statement!


Materials: White cardstock, ribbon, thread
Size: Standard A2 card 4 1/4" x 5 1/2"

Thanks for stopping by!
Jessica

Disclosures:
I use the craft products that I like to use. I am not paid by anyone or any entity for marketing of the various products that I may mention on this blog.

If you like what you see, I invite you to follow my blog or visit me on my pinterest or Etsy sites! Just see the right-hand side of the screen!


Monday, June 2, 2014

Leaf You're in My Thoughts Card

Sometimes, there are very few words. In those instances, less can be more. A simple image to go with a simple message can be very fitting.


Materials: White cardstock, vellum, black gell pen, Hero Arts Clear Stamp - Blossom Art (CL495), Versamark ink, white embossing powder
Size: Standard A2 card 4 1/4" x 5 1/2"

Thanks for stopping by!
Jessica

Disclosures:
I use the craft products that I like to use. I am not paid by anyone or any entity for marketing of the various products that I may mention on this blog.

If you like what you see, I invite you to follow my blog or visit me on my pinterest or Etsy sites! Just see the right-hand side of the screen!